How to install timber cladding
- QTD Ltd - Rebecca Jones
- Apr 7, 2021
- 5 min read
Updated: May 7, 2021
So, you're thinking of cladding your property in some shape or form! Amazing, you’ve made the right choice! Now, you need to think about how you’re going to install your material and what extras you may need. Overwhelming right?
Don’t panic! We have set out all you need to know in this guide.
Our ThermoWood cladding materials are 100% natural and extremely durable, with the absence of chemicals and resins, over time our ThermoWood range has proven it’s quality and durability over time and throughout changing weather conditions.
Please note: this blog post serves as an overarching guide for how to install your timber cladding. However, every project is different, so please consider all aspects of your build in case you need to change anything!
To consider before installing your cladding

1. Choosing charred cladding: It is important to consider that a charred, blistered surface will always be more delicate than un-charred timber surfaces if being exposed to knocks and brushes if people are walking past or leaning against the surface. Our ThermoChar® materials are treated with a flexible UV Class 0 fire rated QFlex® sealer to avoid any knocks, scrapes and residue. If you are looking to use our ThermoChar® range indoors, we can apply an appropriate indoor sealer to help protect your timber!
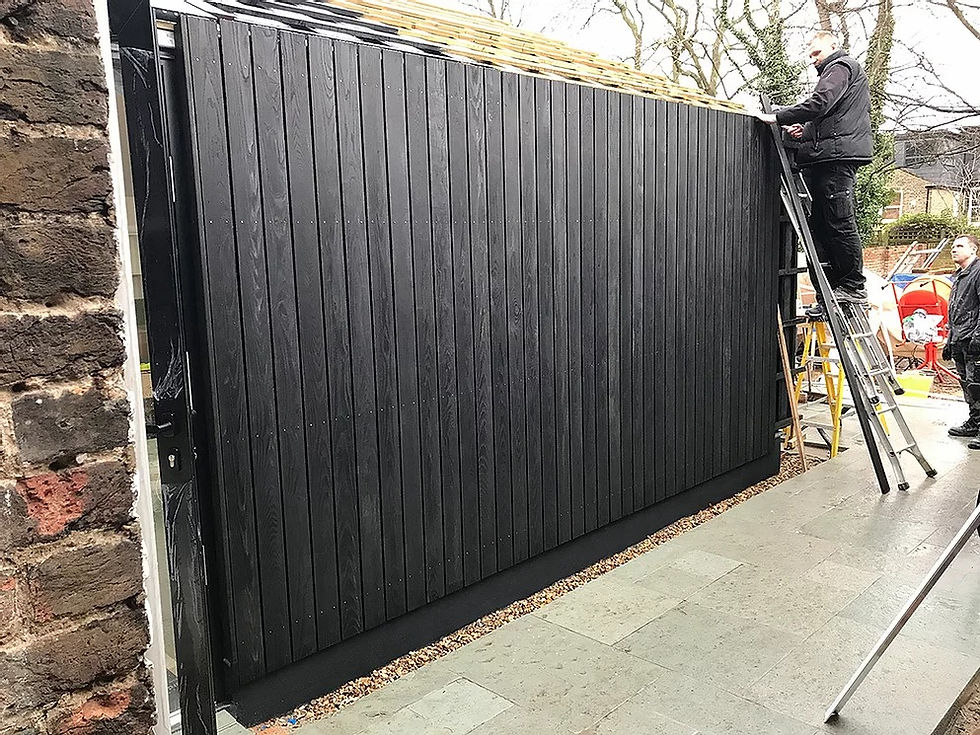
2. Vertical or horizontal cladding: If you want to emphasise the height of your building, such as a gable end, we suggest running your boards vertically, since the long lines will accentuate the height of the façade. In turn, horizontal boards will soften the height of your façade. So, whatever your desired look, we can find the perfect profile for you!
3. Different cladding board widths: Traditionally, UK buildings were clad horizontally, with boards that were all the same width. However, this doesn’t have to reflect the style of your cladding. Many of our customers opt for alternating board widths of the same profile to add a heightened element of visual interest, as well as a bespoke design, unique to your property, adding monetary and sentimental value.
SAFETY FIRST: before starting work, always make sure you have the correct safety equipment for the task at hand. This includes a helmet, gloves, safety glasses, protective footwear etc.
Installing your timber cladding
1. Preparation before installing the timber cladding: Before installing your cladding, you will need to cover the structure of your building with a suitable breather membrane that is water-resistant and controls the moisture level changes between the building and the exterior climate. Once you have tacked this onto your building, make sure that the membrane joints are overlapping and have been taped up. Once this has been tacked onto the building, making sure that the membrane joints are overlapping and have been taped up. You will then be ready to install the cladding battens.

2. Cladding battens: We would recommend using our pressure treated Blue British Standard graded cladding battens for your installation. The minimum batten thickness should be 2mm x 38mm wide to ensure that there is a sensible air gap between the breather membrane and the back of the cladding board. It is vital to ensure that your cladding battens are of high quality as they are responsible for holding your cladding in place, no matter what the UK weather throws at it.
3. Batten spacing: Typically, your cladding battens would be screwed to the substrate at 400mm centres, and run at right angles to the direction of the cladding boards. For example, horizontal cladding fixes to vertical battens and vice versa for vertical cladding. However, horizontal battens have been known to trap moisture running down the membrane, which eventually affects the longevity of the battens.
In this case, we would recommend setting a vertical batten first, at 600mm centres, followed by horizontal battens at 400mm centres. This provides a cavity gap of 50mm. It is important to also remember to run the battens around the perimeter of window and door openings as these will be used to fit the closure boards.
4. Treat cut ends of boards: When you cut and fit your boards, we would always recommend that you wax seal the cut ends. This is to control and slow down moisture uptake and loss which happens a lot faster through the ends, which can result in end-grain checking. This can occur in all softwood and hardwood timbers; however, our Messmers Timber End-Grain Wax Sealer virtually eliminates this from occurring.

5. Install the cladding: It is important to always allow your timber to acclimatise to its’ surroundings in terms of moisture levels before fitting your cladding boards. We suggest leaving your timber to acclimatise for 24 hours. By keeping a cover on the top of the pack of boards, leaving the sides and ends exposed.
Due to the thermal modification process that our ThermoWood’s endure, the timbers’ moisture level is significantly reduced before acclimatising. This means that the boards will not contract but may have minimal expansion depending on the time of year that the boards are being installed. Because of this, we advise leaving a gap of 1 to 2mm between each board just to be on the safe side.
Set your cill trim board that deflects rain away from the façade before installing. This will need to be fitted along the bottom of the building at your desired height. Ensure that this runs straight and level. After you have done this, you can start fixing your cladding above this, working up the building if running horizontally, or starting at a suitable point if installing vertically.
Over the years we have discovered that if you’re right-handed then you would benefit from starting on the left side of the building and working your way to the right and vice versa if you are left-handed.
6. Finishing detail: Alongside the cill trim which can be used above door and window openings, it is important to consider the protection of your buildings’ external corners. External corner trims in the same cladding material will help weather seal your corners and add a degree of protection at lower levels, should they get knocked.
An alternative to timber corner trims are aluminium corner trims, which are powder-coated in an RAL colour, which will match your window frames and doors, helping to tie in the other parts of your build and offers a more robust corner.
7. Fixings: When considering what fixings to use for your installation, we would always advise using stainless steel screws. Positioned (if appropriate) through the crease in the profile, at an angle back toward the board, rather than through the face of the board. This will reduce their visibility and means that they do not need to be positioned as accurately as they would on the front face of the board.
We have experienced some fitters opting to use stainless nails or finishing pins applied with an air gun, with a secondary bead of flexible silicone on the batten before fixing. We believe that doing this through the face of the board can look unsightly and can also damage the timbers’ surface. Consequently, we would not advise using any galvanised nails or pins to install your timber cladding.

Now that we have given you a quick run-through of how to install your timber cladding, and what materials and accessories to consider, you are ready to go!
Still got some questions? This video will answer them all!


Comments